Configuring Approvals
- From the Administrator Tools tab on the SmartSolve Portal Page, click Designer > Workflow Designer.
- Create a new workflow or open an existing workflow.
- Drag the Approval object from the Toolbox and drop it onto the appropriate Phase on the canvas.
Result: The Approval Wizard window is displayed.
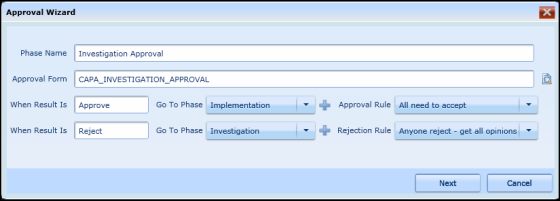
- Enter the name of the phase.
- Zoom to select the approval form to be used.
- Configure the Approve and Reject results, To Phases and Approval Rules as seen in the figure above.
- Click the OK button.
Result: The approval phase is placed on the workspace. - Modify the approval task as needed.
For On Route and On Submission Properties see also Validation Rules and Actions.